What you will need: (all came from the Dollar Tree) a carvable foam pumpkin, napkins cut into strips, twine,decorative sprigs, decorations, gun & sticks, craft paint brushes and lots of mod podge. Okay not everything came from the DT. I craft all the time. The glue gun/stick, mod podge, and brushes I had on hand.)
Instructions: hold pumpkin by the little stem. It’s super short but you can do it. Use the paint brushes to spread glue on the pumpkin. Spread as you go. If you do a super spreader event, your glue will dry out before you get your napkin down. Start at the stem and work your way down toward the bottom. I used the paint brush to gently work the napkin over the foam and into the groves, and covered the napkin with clue as I worked my way around. Covering the napkin as you work your way around helps when you lay down your next piece of napkin. Now if the design on your pumpkin has to be perfect, 🤔 you might be in for a little more stress than you bargained for. To make sure your pumpkin is truly covered, you may want to use generic pattern. Completely cover the pumpkin and let dry. A canning ring turned upside down was perfect to set the pumpkin on (overnight) while it dried. Yeah, we dabble in canned as well. The napkins I chose had a light brown stripe along the bottom. I cut that off. Cut it into little pieces and glued it to the stem. Use the same method as you did with the body of your pumpkin. Next up, cut you twine in stripes long enough to go from the top to the bottom of your pumpkin. I used hot glue to secure them at the top and bottom but mod podge down the sides, working the twine into the groves. Let dry. With all this grove work, I couldn’t decide of ‘I got my grove back’ or if it was to ‘shake my grove thing’? 😂 Shaking could have turned into a lot more work than I bargained for. You can gather the excess twine at the bottom of the pumpkin. If you do; remember, no one likes a wobbly pumpkin. Use you glue gun to decorate the top of your pumpkin however you like. Let dry.
By the time I was finished; remember when you were in school and you discovered that letting glue dry on your skin then peeling it off felt weird? You thought maybe that was what it felt like for your skin to peel off? I had lots of this happening. Lot’s of glue strings and glitter.
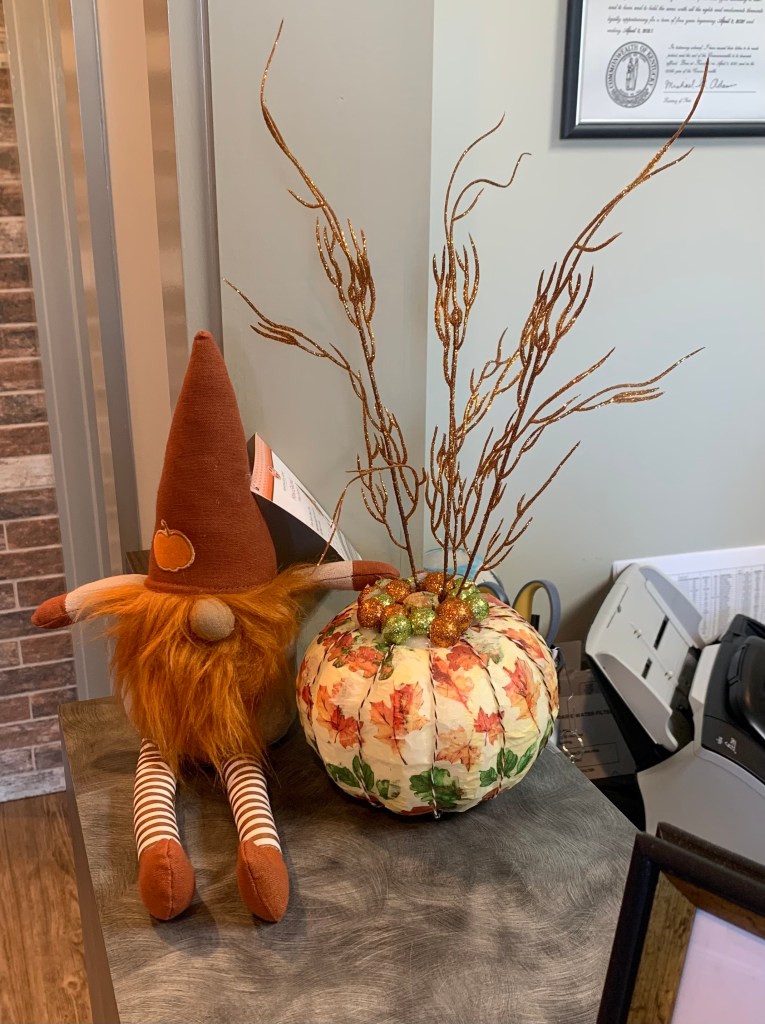
Total cost was $6.25 plus KY sales tax at 6%. And the added entertainment value. Mr. Fall Gnome came from Aldi.
Happy crafting. My modo is “if I can make it, I ain’t buying it”.
