As promised, here is the diy for my birthday signs as referenced in my continuing work: Waste not. Want not. https://byjolenerice.wordpress.com/2023/04/26/waste-not-want-not-birthday/
https://youtube.com/shorts/z5DTtm-HSOQ?feature=share Happy Birthday Tom

My bestie came up with the idea of trying. So I tried. Granted they are not as big or professional as the ones I could have ordered; they were great fun to make. And, I was able to personalize them to each persons likes.
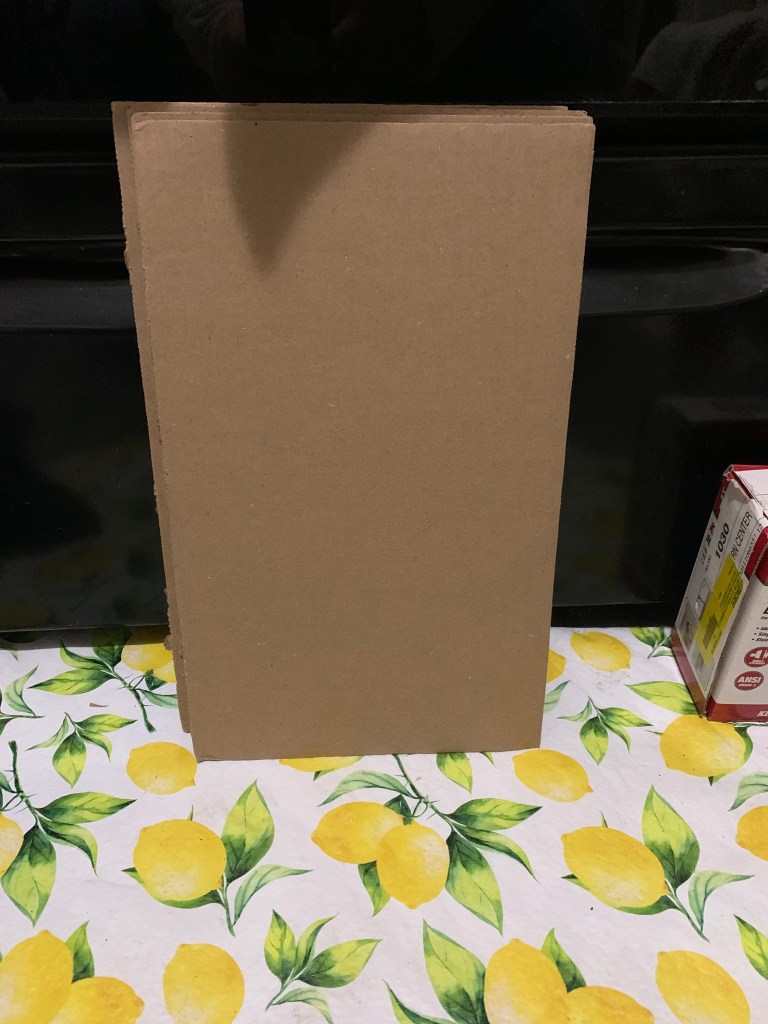

All of my letters are free-hand. You can try to use a box cutter/utility knife to cut the letters out but scissors worked best for me.
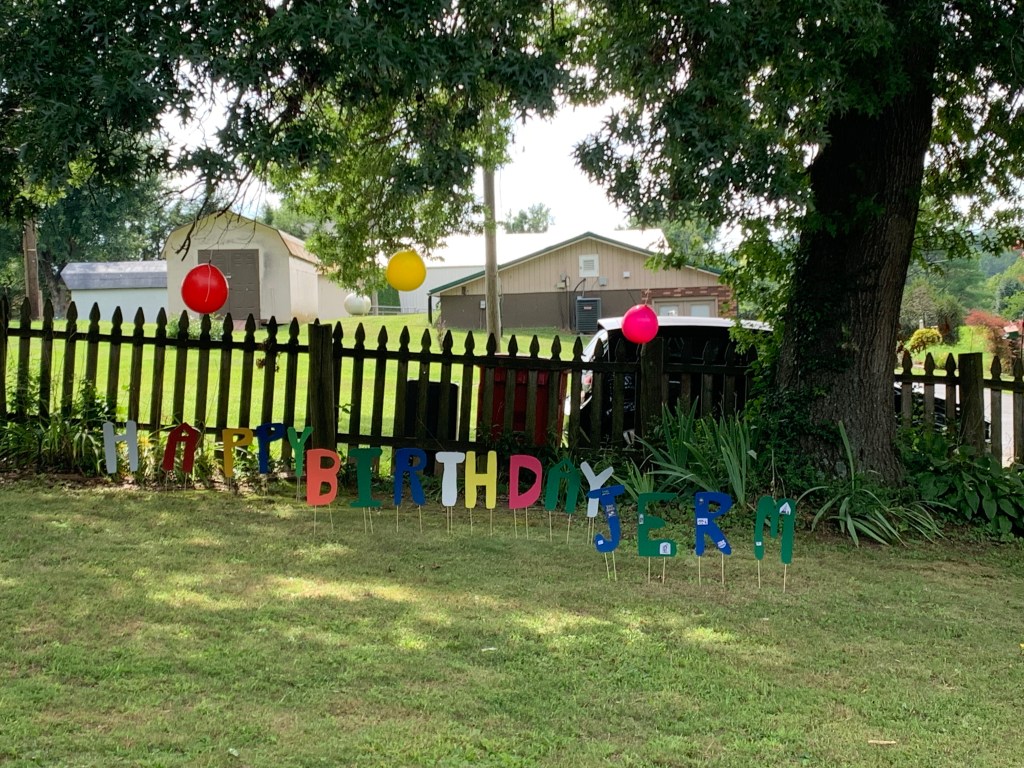
Yes, that cute little car sitting in the background is mine. Photo-bomb!
It took (on average) two coats of paint for each letter.

Sticking the letters in the ground wasn’t always an option. It was 6 degrees on her birthday and the wind was blowing like crazy. Hence the abbreviation of birthday to B-Day.

Because I mailed this one, I wrote on the back where to glue the skewers.
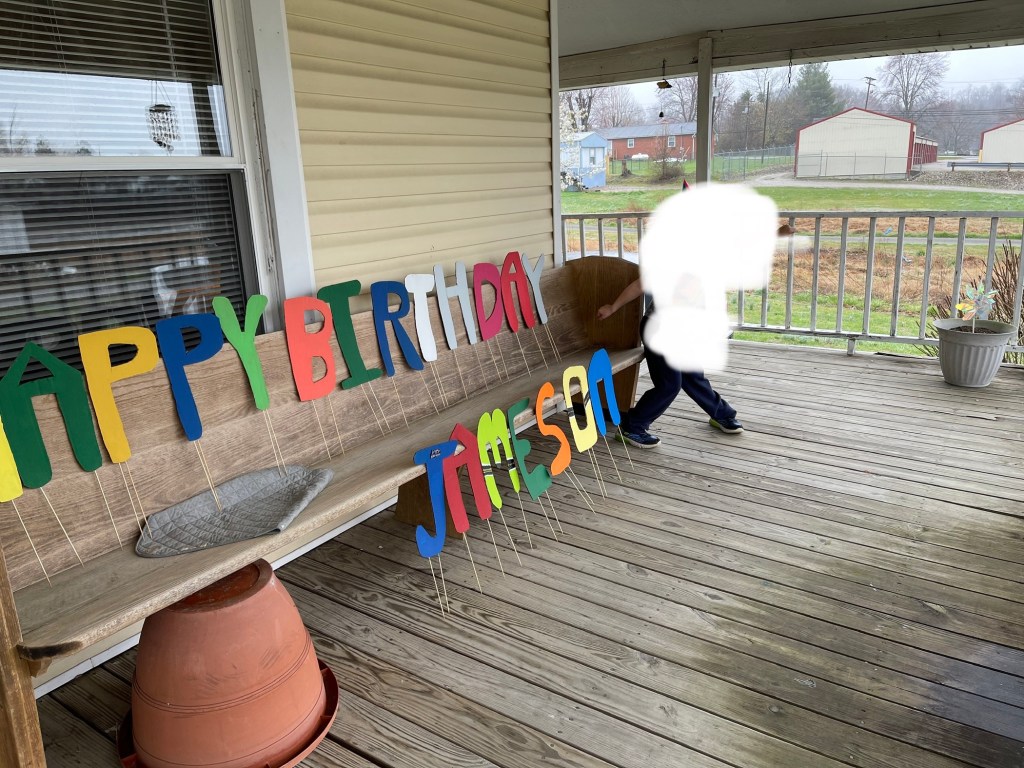
It was raining and windy on this day and I forgot my twine at home. These were not difficult to make. It just took time so the paint could dry.


